
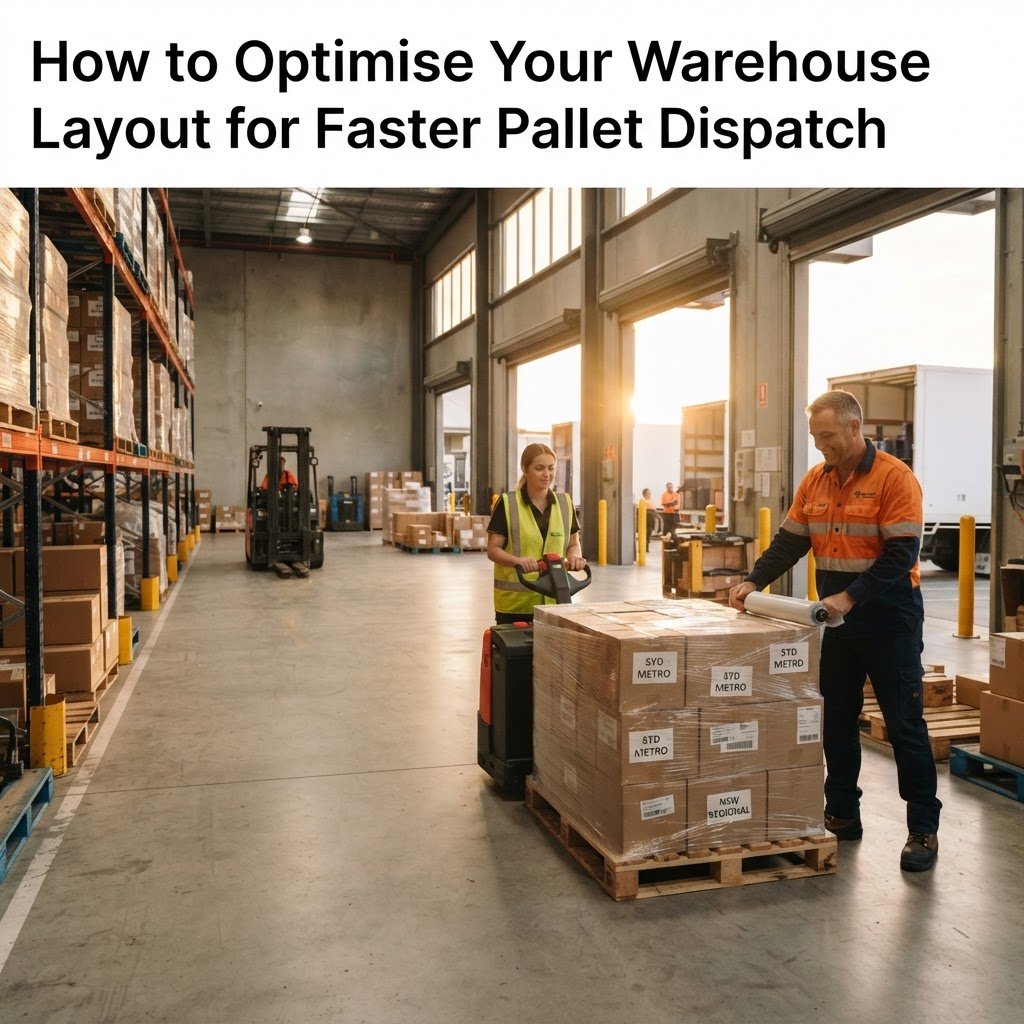
For many businesses across Sydney’s industrial hubs—from the bustling lanes of Wetherill Park to the busy distribution centres in Botany—every second shaved off the dispatch process translates directly to the bottom line. As competition grows and customer expectations for lightning-fast delivery increase, warehouse layout optimisation is no longer just about organisation; it is a critical competitive advantage. If your team is navigating complex aisles or dealing with bottlenecks during peak periods, your layout might be working against your output.
The Core Principles of Warehouse Workflow Design
Efficient pallet dispatch starts with the physical flow of your floor. The most successful warehouses follow a ‘U-shaped’ or ‘straight-through’ flow pattern, which minimises cross-traffic and reduces the distance travelled by forklifts and pallet jacks. In a standard warehouse workflow design, goods should enter at one point, undergo processing, and exit via the dispatch dock without ever backtracking.
Consider your most frequently dispatched items. If your top-moving pallets are located at the back of the facility, your staff are wasting significant time every shift. Prioritising your ‘A-grade’ stock in the ‘Golden Zone’—the area closest to your dispatch docks—can drastically improve your pallet loading speed.
Analysing Your Storage Infrastructure
Effective warehouse space management requires a look at your vertical potential and your racking configuration. Sydney warehouses often come with premium floor space costs, so leveraging your cubic metres is vital. However, high-density racking can sometimes lead to reduced accessibility.
| Racking Type | Best For | Dispatch Efficiency |
|---|---|---|
| Selective Racking | Low-density, high-SKU variety | High (Direct access) |
| Drive-in Racking | High-density, single-product | Moderate (LIFO-dependent) |
| Push-back Racking | Medium-density, FIFO | High (Automated retrieval) |
By ensuring your racking systems are designed for the specific palletised freight you handle, you reduce the risk of forklift congestion. For more on coordinating these systems, see our guide on optimising warehouse flow and racking systems.
Reducing Bottlenecks at the Loading Dock
The loading dock is the final frontier of your supply chain. If your dispatch staging area is cramped, your pallet loading speed will suffer, leading to missed courier windows and increased labour costs. A dedicated staging area should be clearly marked with floor tape, allowing for the pre-assembly of orders before the transport vehicle even arrives.
Furthermore, ensure that your equipment—whether it be skids, crates, or standard pallets—is staged in a way that matches the load order of your logistics provider. If you are preparing for a specific pickup, check out our advice on how to prepare your warehouse for efficient pallet loading and dispatch to ensure your goods are ready for transit without delay.
Leveraging Local Logistics Knowledge
Sydney’s unique geography, with its heavy traffic corridors and varied industrial precincts, means that efficient dispatch isn’t just about what happens inside your four walls. It’s about how your layout integrates with the wider NSW transport network. Ensuring your loading docks can accommodate the specific vehicle types required for your freight—be it a small van or a semi-trailer—is a fundamental part of the logistical equation.
As noted by the National Heavy Vehicle Regulator (NHVR), complying with load restraint and safety standards is paramount. An optimised layout provides the space needed for staff to conduct safety checks and load verification without feeling rushed, ensuring your dispatch process is not only faster but also significantly safer.
Continuous Improvement in Warehouse Logistics
Warehouse layout optimisation is not a ‘set and forget’ task. As your business grows, your product mix shifts. Schedule a quarterly review of your inventory movement patterns. If a product that was once a seasonal outlier becomes a core staple, move it to a more accessible location. By keeping your layout dynamic, you ensure that your team maintains high productivity levels throughout the year.
Frequently asked questions
What is the most efficient flow pattern for a warehouse?
A U-shaped or straight-through flow pattern is generally considered the most efficient as it minimises cross-traffic and prevents workers from backtracking through the facility.
How do I determine which pallets should go in the ‘Golden Zone’?
The ‘Golden Zone’ should be reserved for your highest-moving inventory, located closest to your dispatch area to reduce travel time and handling effort during the loading process.
Does warehouse layout affect safety compliance?
Yes. An organised layout ensures that there is enough space for proper load restraint, safety inspections, and clear pathways, which are critical for meeting Australian safety standards.
Ready to move your freight?
Fast, reliable pallet transport across Australia — get pricing in minutes.